The Ultimate Guide to Inverter Maintenance and Servicing
Discover the secrets to keeping your inverters running smoothly with our comprehensive guide. Whether you’re a seasoned technician or a curious DIY enthusiast, this article will equip you with the essential knowledge to tackle any inverter maintenance challenge. From troubleshooting common issues to optimizing performance, we’ve got you covered. Learn how to identify faulty components, extend lifespan, and ensure uninterrupted power supply for your industrial equipment. Don’t let unexpected failures derail your operations – empower yourself with our in-depth expertise and take control of your electrical systems. Read on to become an inverter maintenance guru!
Understanding Inverters: A Brief Overview
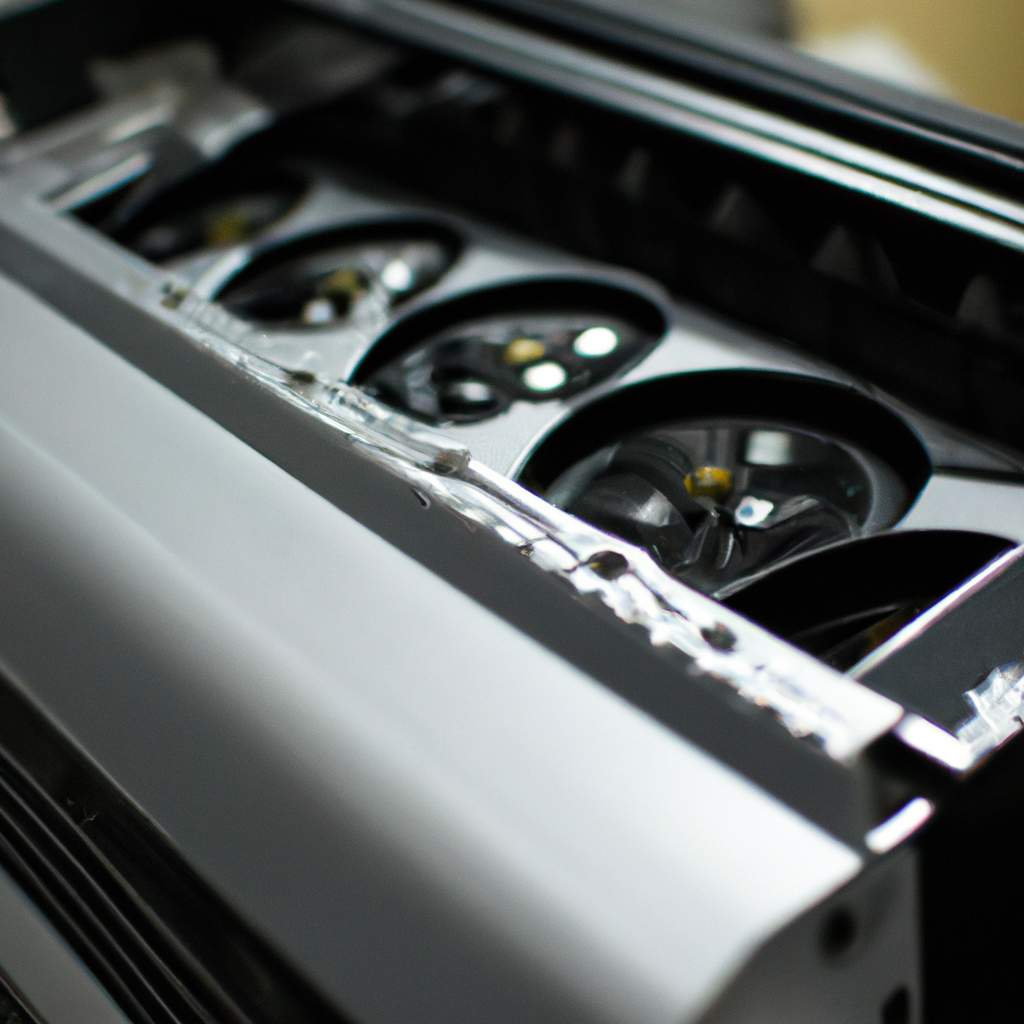
The inverter is a critical component of any electrical system. It is responsible for converting AC (alternating current) power from the utility grid into DC (direct current) power that can be used to power electrical appliances and devices. Proper maintenance and upkeep of an inverter is essential for its optimal performance and longevity. Regularly checking the wiring, connections, and battery for signs of wear and tear should be part of a regular maintenance regimen. Inverters are typically rated with an efficiency rating ranging from 75% to 95%. By regularly cleaning the fan filters, replacing worn-out parts, and ensuring all connections are tight, you can maintain good efficiency levels and reduce the chances of breakdowns.
Inverters also require periodic calibration to ensure they are outputting the correct voltage levels for the application. Depending on the type of inverter being used, this calibration can be done by either connecting it to a computer or using a calibration device such as a multimeter. Calibration should be done at least once per year to ensure peak performance. Additionally, it is important to routinely test your inverter’s load capacity and adjust it accordingly to ensure it won’t overload your system.
Proper storage is necessary for long-term maintenance of your inverter system. Keeping your inverter in an environment that is free from dust, debris, moisture, extreme temperatures, vibration, or other contaminants will help keep it operating optimally over time. Additionally, make sure batteries are stored in an area away from extreme temperatures or other hazards. Following these maintenance tips will help you get the most out of your inverter
Common Inverter Issues and Troubleshooting Tips
Maintaining inverters can be a tricky task, but understanding the common issues and troubleshooting tips can save you time and money. Inverters are a key part of any electrical system, providing power in a reliable and efficient manner. But like any electrical device, inverters need routine maintenance to ensure they are working correctly. Here are some of the most common issues with inverters and some tips for troubleshooting:
- Overheating: Overheating can cause an inverter to shut down and should be checked regularly. Cleaning air vents, fans and cooling plates is important to prevent overheating.
- Noise: Noise from an inverter is usually caused by motors or bearings that have worn out. Replacing these parts can help reduce noise, or if the noise persists, it could be a sign of a more serious issue.
- Voltage Drop: A voltage drop can cause an inverter to shut down or become unstable. Check for loose connections and check the power supply to ensure it is providing enough power.
- Power Loss: Power loss can be caused by a number of factors, including overloading the system or damaged wiring. Make sure all connections are secure, and check for any signs of damage on wiring components.
Knowing how to identify and address common issues with your inverter will help keep it running smoothly and increase its lifespan. Regular maintenance is key to ensuring any electrical device works properly – so make sure you are performing regular checks on your inverter!
Preparing for Inverter Maintenance: Tools and Safety Measures
Preparing for inverter maintenance is essential for the safe and effective operation of your system. That’s why tool selection and safety measures should be taken into consideration before performing any maintenance or repair tasks. Here are some tips and tricks for doing so:
- Tools: Make sure you have the right tools to complete the job. This may include screwdrivers, wrenches, pliers, wire cutters, insulated gloves, a voltmeter, and a multi-meter.
- Safety Measures: Before beginning any maintenance or repair work, be sure to turn off the power source and disconnect all wiring from the inverter. Wear safety gear such as eye protection, gloves, and a face shield. Additionally, never work on live conductors.
Step-by-Step Guide to Cleaning and Inspecting Inverters
Cleaning and inspecting inverters is essential for proper functioning and longevity. Following a step-by-step guide will ensure that all of the components are checked and maintained correctly. First, turn off the power to the inverter and disconnect it from the grid. Remove any dirt or debris and check that all of the connections are secure. Use a multimeter to check that there are no electrical shorts. Make sure all of the cables are properly sized and in good condition. Test each component individually to verify that it is working as expected. Once all of the components have been tested, reconnect the inverter back to the grid.
Replacing Faulty Components in an Inverter: Best Practices
It is essential to maintain and service an inverter regularly in order for it to function properly. Failing to do so can lead to a wide range of issues, including the need to replace faulty components. The best practices when replacing components in an inverter include identifying the faulty component, ordering the correct replacement part, and then properly installing the new component.
Identifying the Faulty Component
The first step in replacing components in an inverter is identifying which component is actually faulty. This can often be a challenge as inverters contain complex electronic circuits that can be difficult to diagnose. It may be necessary to use specialized diagnostic tools and equipment when attempting to isolate a failing component.
Ordering the Correct Replacement Part
Once the faulty component has been identified, it must then be replaced with an exact replacement part. This typically requires obtaining the model number or serial number of the inverter, as well as any information related to the manufacturer of the component itself. Once this information has been obtained, it should then be used to find a supplier with access to the correct replacement part.
Installing the New Component
Finally, once the new component has been received it must be installed correctly in order for it to function properly. Depending on the complexity of the component, this could include soldering connections and wiring up power supplies. Additionally, certain components may require additional programming or calibration once they are installed in order for them to work correctly.
Testing and Calibration Procedures for Optimal Inverter Performance
Regular testing and calibration of an inverter is important to ensure it continues to function properly. It is also necessary to maintain optimal performance. Maintenance personnel should be familiar with the manufacturer’s procedures for testing and calibration.
When calibrating an inverter, you should begin by measuring voltage and current inputs. This helps you to recognize potential problems before they become more serious. You will then need to adjust the settings on the inverter accordingly. Additionally, a frequency meter can be used to measure speeds and frequencies and make sure they are calibrated correctly.
There is a need for periodic safety tests. This includes checks on insulation, terminal blocks, wiring, connections and junction boxes as well as any other safety-related components. It is also important to pay attention to ventilation requirements and keep the equipment clean.
Preventive Maintenance Checklist for Longevity of Inverters
Inverters have become a fundamental part of most households and businesses, providing power supply in case of emergency. To ensure their long-term functionality, it is essential to carry out preventive maintenance checks on a regular basis. This preventive maintenance checklist provides an overview of the basic steps you should take in order to maintain your inverter at optimal performance levels and prevent costly repairs.
The first step is to inspect all the physical components of the inverter, including the power cable, switch, and connectors. Make sure all these parts are securely connected and that no damage has occurred. At the same time, check the wiring of the inverter for any signs of corrosion or other issues.
The second step is to check all the electrical connections and ensure they are tightened according to manufacturer’s specifications. If any wiring has been altered, make sure to return it back to its original state. If there are any frayed or exposed wires, replace them immediately. Finally, inspect any external components such as fans and relays for proper operation.
Advanced Techniques for Diagnosing Complex Inverter Problems
Diagnosing complex inverter problems can be a challenge for many technicians. Advanced techniques are needed to identify and properly address the issue.
Troubleshooting
The first step in diagnosing an inverter problem is to use troubleshooting techniques. This includes checking for power supply issues, checking connections, and testing components. Once the cause of the problem is identified, the technician can then recommend the appropriate repair or replacement.
Measurements
Another technique used to diagnose inverter problems is to take measurements. This can include measuring voltage, current, resistance, and frequency. With these measurements, technicians can inspect for loose connections or shorts in the system. Additionally, it can also help identify any faulty components that may need to be replaced.
Diagnostic Software
The final advanced technique for diagnosing inverter problems is the use of diagnostic software. This software allows technicians to quickly troubleshoot by providing detailed information about the system’s status.